How to Prepare a Home for Real Estate Photography
Learning how to prepare a home for real estate photography starts with a simple plan: remove distractions, clean visible surfaces, arrange each room clearly, and finish before the photographer arrives. Prepare the exterior as carefully as the interior, then confirm access, lighting preferences, and which spaces the appointment includes.
The goal is to help buyers understand the property. Clear counters reveal usable workspace. Open pathways explain how rooms connect. Clean windows make views easier to appreciate. Thoughtful preparation gives your photographer a stronger starting point for creating accurate, appealing real estate listing photos.
This guide explains how to prepare a home for real estate photography from the first planning conversation to the final walkthrough. You will also find practical advice for video, aerial images, and interactive tours, so one preparation effort can support your complete marketing package.
Start with the Shoot Plan
Before preparing a house for listing photos, ask your agent and photographer what they intend to capture. Confirm the main rooms, outdoor areas, additional buildings, and distinctive features. A detached office, finished basement, or rooftop terrace can require preparation that a standard interior checklist overlooks.
Ask where the photographer can park, how they will enter, and whether anyone needs to operate gates or building access systems. For occupied rentals or shared buildings, coordinate with the people responsible for providing access.
Also explain what makes the property useful to a buyer. Perhaps the kitchen connects directly to a covered patio, or a bedroom has a separate entrance. These details help shape the coverage.
Review the TourDSpace real estate photography portfolio to see examples of property presentation and identify the spaces you want your own gallery to explain.
How to Prepare a Home for Real Estate Photography on a Practical Timeline
Give yourself enough time to finish preparation without moving clutter between rooms during the appointment. The following schedule is a starting point; a large occupied home may need more time than a tidy condominium.
| When | Main priorities | Completion check |
|---|---|---|
| Several days before | Confirm coverage, organize belongings, arrange cleaning, and identify minor repairs | Every included area has a preparation plan |
| One or two days before | Clean surfaces, prepare landscaping, arrange furniture, and check bulbs | Major work is finished |
| The evening before | Prepare bedding, towels, access instructions, and storage | No room depends on last-minute rearranging |
| Before arrival | Clear daily-use items, move vehicles, settle pets, and complete a walkthrough | The whole property is ready together |
If your schedule is tight, prioritize the front exterior, kitchen, main living area, primary bedroom, and bathrooms while still preparing every agreed space. Tell the photographer about anything unfinished before the appointment.
For a broader planning resource covering access, capture, and delivery, use the real estate photography checklist alongside this seller-focused guide.
Declutter Before You Deep Clean
An important part of how to prepare a home for real estate photography is deciding what belongs in the frame. Begin with surfaces and pathways rather than opening every drawer.
Group belongings into three categories: keep visible, store temporarily, or pack for the move. Leave furniture and a few decorative items that explain the room’s purpose. Store collections and everyday supplies that interrupt the view of the space.
Choose a storage area outside the agreed photography coverage. Do not assume the garage is available if it is also on the shot list. Moving boxes into a hallway simply creates a different preparation problem.
Protect personal information, too. Put away mail, prescription labels, school schedules, financial papers, and anything displaying account details. Check desks, refrigerator doors, and screens before the photographer arrives.
A useful test is to stand at the doorway and ask whether you notice the room or the objects first. If belongings dominate, simplify another layer.
Clean the Surfaces That Will Appear in Photos
Once clutter is removed, cleaning becomes easier and more targeted. Concentrate on floors, glass, fixtures, countertops, and other visible finishes.
Check reflective surfaces from several positions. A mirror may look clean straight on while showing streaks from the doorway. Stainless steel, shower glass, and glossy cabinet fronts deserve the same inspection.
Remember corners and transitions: dust near a stair railing, marks around handles, and debris at sliding-door tracks can interrupt an otherwise tidy room. Allow washed surfaces to dry before photography.
Handle manageable repairs early enough to avoid leaving tools, wet paint, or replacement parts visible. If a larger issue remains, communicate it to the agent. Presentation should show the home attractively while preserving an accurate understanding of its condition.
Prepare the Kitchen to Show Its Layout
The kitchen preparation goal is to reveal counters, cabinetry, and the relationship between cooking and dining areas.
Store portable appliances when they crowd the workspace. Keep any remaining decorative arrangement small and away from important features. Empty the sink and move drying racks, sponges, soap bottles, and dish towels out of view.
Check refrigerator magnets, cabinet fronts, and the side of the island visible from adjoining rooms. Straighten stools and leave enough space to understand seating and circulation.
Before finishing, look through the kitchen toward the next room. An orderly island will not solve a distracting pile of bags visible behind it. This wider check is especially useful in open-plan homes.
Prepare Living and Dining Areas
When photographing homes, the arrangement of furniture should make the room’s function and circulation easy to read.
Straighten seating, smooth cushions, and align rugs with the furniture they serve. Remove spare chairs or oversized portable pieces if they block access or obscure a focal feature. Keep clear views toward windows, fireplaces, and exterior doors.
For dining rooms, decide whether a simple centerpiece is enough. Elaborate place settings can add preparation time and visual clutter without helping explain the space.
Switch off televisions and clear remotes, chargers, and loose cables. Check reflections in dark screens and glass cabinets.
One of the most useful real estate photography tips for sellers is to photograph a room with your phone as a preparation check. Review what draws your eye, then remove distractions before the professional session.
Make Bedrooms Calm and Consistent
If you are wondering how to get house ready for listing photos, bedrooms often benefit most from a careful reset rather than extra decoration.
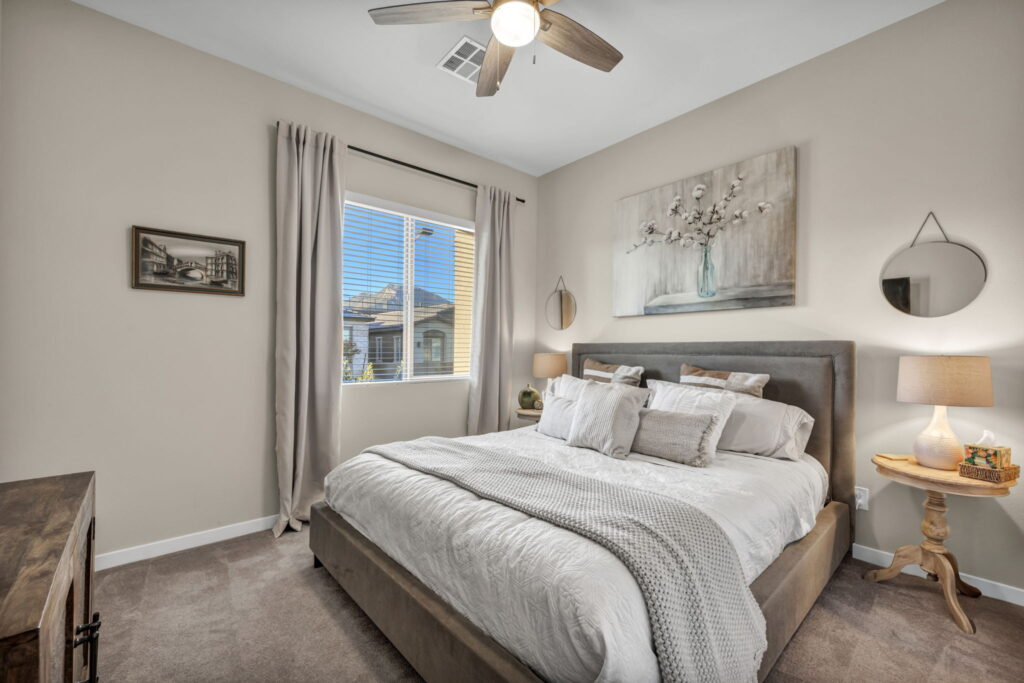
Make beds with smooth bedding and balanced pillows. Check the bedding from the door, where an uneven edge may be more noticeable than it is beside the bed.
Clear nightstands of charging equipment, medications, tissues, and loose personal items. Straighten lamps and remove clothes from chairs or doors. Keep the floor visible around the bed.
For children’s rooms, simplify toys and remove identifying details while preserving a clear sense of the room’s use. Prepare closets if they are included in the appointment, especially walk-in closets marketed as a feature.
In a spare room, give the space a clear purpose. A neat guest bedroom or organized office usually communicates more than a mixture of storage, exercise equipment, and laundry.
Reset Bathrooms, Laundry Rooms, and Utility Spaces
Bathroom preparation should reveal the fixtures and finishes without everyday products competing for attention.
Clear toiletries from counters, showers, and tub surrounds. Wipe mirrors and faucets, straighten towels, and close toilet lids. Remove laundry baskets, cleaning supplies, bathrobes, and portable bins.
Ask the photographer how shower curtains or doors should be positioned. Do not hide belongings inside the tub if that area will be photographed.
In laundry rooms, clear appliance tops and organize visible shelving. For garages and utility areas, provide safe access and tidy what is included in the coverage.
Keep installed systems and important equipment represented accurately. Cleaning and organizing a utility space should not conceal a problem or suggest that a permanent feature has changed.
How to Prepare a Home for Real Estate Photography with Better Lighting
Start by cleaning the glass and checking that window coverings operate properly. Open curtains where appropriate, then let the photographer adjust blinds to balance daylight, privacy, and views.
Replace failed bulbs and reduce obvious differences in bulb color within the same room. Test fixtures before photo day, particularly those in spaces with limited daylight.
Ask whether the photographer prefers interior lights on or off. Different shooting methods call for different lighting choices, so a universal “turn on every light” rule may not suit the appointment.
Mention rooms with strong afternoon glare or a view that looks best at a particular time. The photographer can use that information when planning the sequence.
Turn ceiling fans off before capture unless instructed otherwise. Also pause decorative lighting effects that change colors or brightness unpredictably.
Prepare the Exterior, Yard, and Outdoor Living Areas
When photographing houses, exterior preparation should extend beyond the front door. Walk the driveway, side paths, patio, balcony, and backyard.
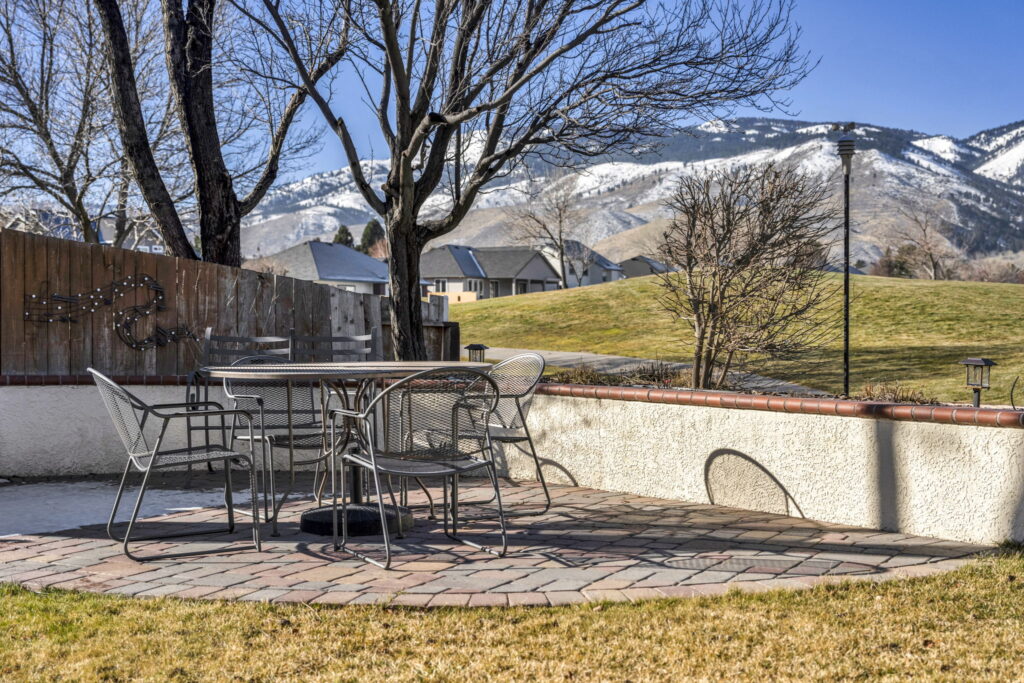
Remove portable bins, loose tools, toys, hoses, and unnecessary equipment. Tidy landscaping without covering or altering permanent features. Sweep hard surfaces and arrange patio furniture to show how the area functions.
Move vehicles out of the planned views before arrival. Ask where to park so they do not remain visible through windows or dominate an exterior angle.
For pools and outdoor kitchens, clean visible surfaces and put away maintenance accessories. Do not remove safety features simply for a photograph.
Local conditions also matter. A Las Vegas home may need a check for windblown dust, while a Cleveland property may need leaves cleared from paths. In Reno Tahoe or Denver, tell the photographer about weather or access conditions affecting outdoor coverage.
Prepare for Real Estate Photo Video and 3D Tours
A combined real estate photo video appointment requires preparation beyond a few fixed camera angles. Moving footage can reveal clutter around corners, behind furniture, and along connecting hallways.
Walk through the home using the routes between major rooms. Check that doorways are accessible and that nothing obstructs movement. Share priorities for the footage, including outdoor connections or distinctive architectural details.
Explore real estate videography when a moving walkthrough would help explain those relationships.
For Matterport 3D virtual tours, prepare every area included in the scan. Viewers can choose where to look, so storing belongings just outside a still-photo composition may not work.
Keep the arrangement consistent during capture. Decide where occupants and pets will stay, and avoid moving furniture while the session is underway.
Plan Drone and Twilight Preparation Separately
Aerial coverage may show parts of the property that are less prominent from the street. Prepare visible outdoor storage areas, side yards, and the spaces between buildings.
Discuss what aerial images need to explain: the setting, outdoor amenities, or the relationship between structures. Drone real estate photography can provide that broader context when conditions allow.
For a local example, read the role of drone photography in Reno real estate listings.
Twilight preparation requires an additional lighting check. Test exterior fixtures, confirm who can operate them, and have patios ready before the agreed arrival time. Ask the team about the plan for illuminated windows and outdoor features.
Explore real estate twilight photography and the related article on twilight real estate photography in Cleveland if evening imagery suits the property.
Prepare Vacant Homes for Virtual Staging and Floor Plans
Empty rooms still need cleaning, working lighting, and clear access. Remove leftover packing materials and check exposed floors and walls carefully.
If furnishings would help illustrate a possible use, discuss virtual staging services before the session. Explain the room’s intended function so the original photograph can support the staging brief.
Keep the unstaged images available and clearly identify digitally furnished versions. Ask the listing agent to check the applicable publishing requirements. Virtual furnishings should not suggest that defects have disappeared or permanent features have changed.
The article on virtual staging for Las Vegas real estate provides additional context.
For unusual layouts, real estate floor plan services can complement photographs. Confirm access to the required spaces and tell the provider about separate units or additional structures.
A Final Listing Photo Checklist Before Arrival
Use this listing photo checklist after the major work is complete:
- Confirm entry instructions and the contact available during the appointment.
- Check every included room, connecting hallway, and outdoor area.
- Put away breakfast dishes, toiletries, laundry, and last-minute clutter.
- Make beds and straighten towels, cushions, and furniture.
- Remove private documents and check visible screens.
- Move vehicles and portable outdoor equipment.
- Settle pets comfortably away from the capture route.
- Test lighting and follow the photographer’s instructions.
- Identify unfinished items or inaccessible areas before work begins.
Knowing how to prepare a home for real estate photography also means knowing when preparation is complete. The property should be ready as a whole, so the photographer can choose a useful sequence without waiting for rooms to be cleared.
Professional Home Photography : A Complete Guide
Common Mistakes and Tips for Taking House Photos
Avoid spending your entire preparation budget on decorative accessories while leaving cleaning or access unresolved. A clear window and an unobstructed doorway often contribute more to the image than another ornament.
Do not assume editing includes extensive object removal. Ask what is included and solve movable clutter before capture whenever possible.
If you are taking preliminary photographs yourself, use these tips for taking house photos: keep the camera level, check reflections, and choose views that explain the room. Avoid stretching proportions with extreme angles or excessive zooming out.
Finally, do not promise buyers that photographs prove a property is flawless. Attractive presentation and accurate representation should work together.
How Many Photos Should a Real Estate Listing Have?
Frequently Asked Questions
How long does it take to prepare a home for real estate photography?
Preparation depends on the home’s size, occupancy, and condition. Start several days ahead when cleaning, packing, landscaping, or furniture changes are needed. Reserve the final morning for small resets rather than major work.
What is the most important step in how to prepare a home for real estate photography?
Start with decluttering and a clear coverage plan. Removing unnecessary belongings reveals the space, while confirming the shot list prevents overlooked rooms and unsuitable temporary storage choices.
Should I leave the lights on for listing photos?
Ask your photographer. Their technique and the available daylight determine the preferred setup. Replace failed bulbs beforehand and have switches or lighting controls accessible.
Do I need professional staging before photography?
Not necessarily. Cleaning, simplifying furniture, and arranging existing pieces may be enough. Ask your agent whether physical staging or digital furnishing would solve a specific presentation need.
Can pets remain at home during the appointment?
Usually, pets can stay if they are comfortably secured away from the agreed capture areas. Discuss arrangements beforehand and remove bowls, beds, and toys from the rooms being photographed.
Should I prepare closets and the garage?
Prepare them when they are part of the agreed coverage. Confirm this before using either space for temporary storage. Feature closets, finished garages, and workshops may deserve dedicated images.
Can professional photos guarantee a faster sale?
No. Photography supports presentation, but price, location, condition, demand, and the marketing strategy also influence a sale. Avoid treating a media package as a guaranteed result.
Prepare Your Listing with TourDSpace Productions
Once you understand how to prepare a home for real estate photography, the next step is coordinating preparation with the media your listing needs.
TourDSpace Productions is a Nevada-based photography and videography production company serving Cleveland, Ohio; Reno Tahoe, Nevada; Las Vegas, Nevada; Sacramento, California; Pittsburgh, Pennsylvania; and Denver, Colorado.
The Las Vegas office is located at 10175 Spring Mountain Road #1038, Las Vegas, NV 89117.
Contact TourDSpace to discuss the property, required coverage, and appointment preparation. For more property presentation and visual marketing resources, visit the TourDSpace blog.